Tuesday, August 31, 2010

Junior Backpack Tutorial {Tutorial Tuesday}

Pin It

I know you LOVE my templates (well I guess I don't KNOW... but why would you be here if you didn't!). I have also heard that you want to see how to put them all together?  So I am going to try to release some tutorials. I am calling it Tutorial Tuesday but there is NO promises it will happen weekly!

So for this week I have for you... a tutorial on putting together the back pack! Just in time for Back to School!

Here is the preview of the product(s) in the store. There is a backpack template as well as a ready to print backpack using Explore. Learn. Grow from Sahlin Studio.


With the backpack template you need to add your papers and elements to the template. Hybrid templates work just like regular scrapbooking templates or paper templates.  All of my templates come in PSD, PNG, TIFF (newer ones), and PDF. 

I am also starting to add cutting files as well with many templates, that will increase as I learn more about using the machine too!

So once you have attached your papers to the template (or have opened your pre-prepared items) you will need to print everything out. With all of my templates I include a hybrid/printing tip list - please read it!  You can also check out Hybrid Bootcamp over at ScrapMatters.  One thing I want to make sure you do is to reduce the opacity (or change the color) of the fold and cut lines.

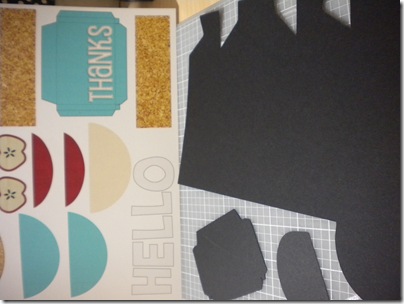
So here are my things printed (I actually cut the base of my backpack out with the Cricut - there is NOT a cutting file in the download... I was trying something out!)

 DSCN2199

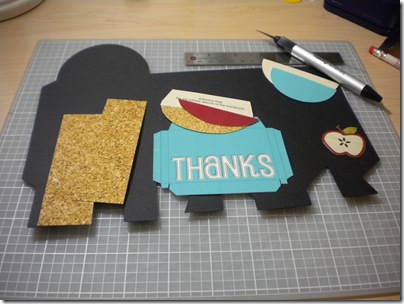
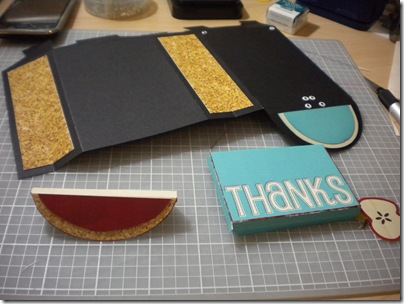
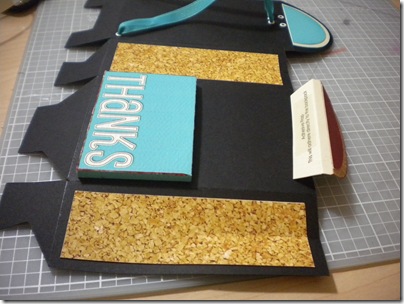
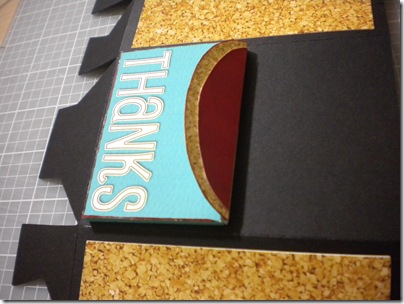
Then I cut out everything (I use an exacto knife and a metal edged ruler):

DSCN2202

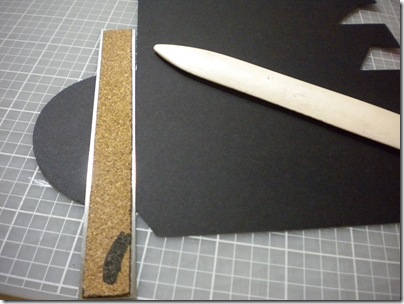
Then I scored the lines (in this case... I guessed - which is why there is not a cutting file yet. I need more practice with having the machine cut folding guides on the templates).

DSCN2203

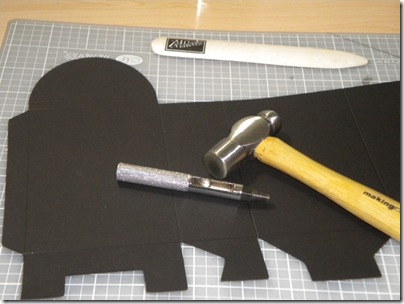
Once scored I punched the holes for the eyelets where my ribbons were going to go through.

DSCN2205

Then actually go through and fold all the parts - it never fails I forget to score something - you want to find that out before you start putting adhesive on!

DSCN2206

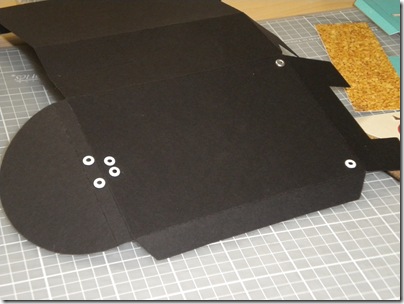
Next I put the eyelets through the holes I punched (don't look to carefully as I messed up and used one silver one... I said don't look!)

DSCN2209

Now start putting the pieces together. I started with what went right on the backpack, then went on to the front pocket after I had the ribbon on.

DSCN2210

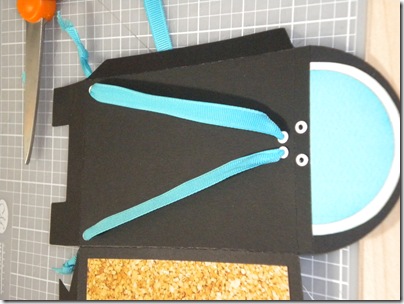
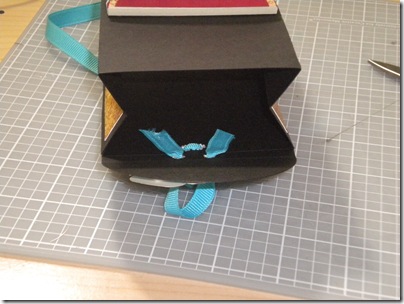
Here you can see the ribbon - I just tied a knot on the inside bottoms - you could have it feed through the top as well but I did not think of that until after!

DSCN2213

Then attach the front pocket - I did pocket first then flap but you can do it either way - just be sure if you put the flap on first that is in the right spot first! (and as you can see I forgot the top ribbon before I moved on.)

DSCN2224

To adhere the top flap simply position and push down. I used my ruler to help push inside the pocket.

DSCN2226

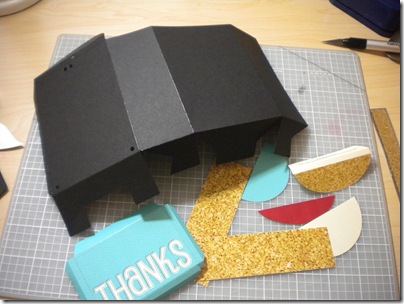
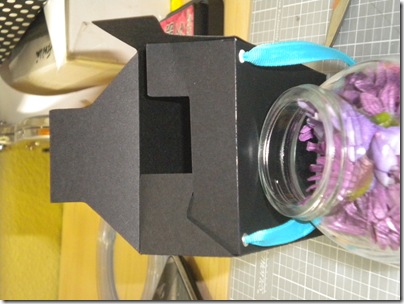
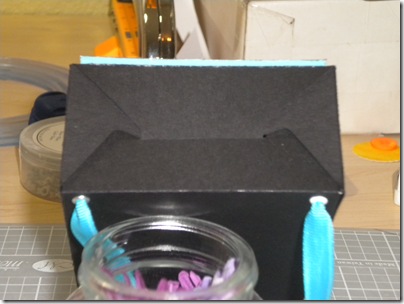
Hmmm... I am missing a photo!  Now you want to create the box - simply put adhesive on the outside flap and attach to the inside of the box -- creating the rectangle.  Then you will put the bottom of the box together. The U shaped piece folds in first then tuck the points of the sides under it and then the volcano piece tucks under everything.

DSCN2230

DSCN2233

I finally realized that I needed the ribbon on the top. Since my box was already together it made it harder so the inside just got held in with adhesive - the Red Line adhesive... Terrifically Tacky Tape (my favorite!)

DSCN2229

At this point I added a little bit of velcro to both flaps to keep down.

Here is a look at my finished project:
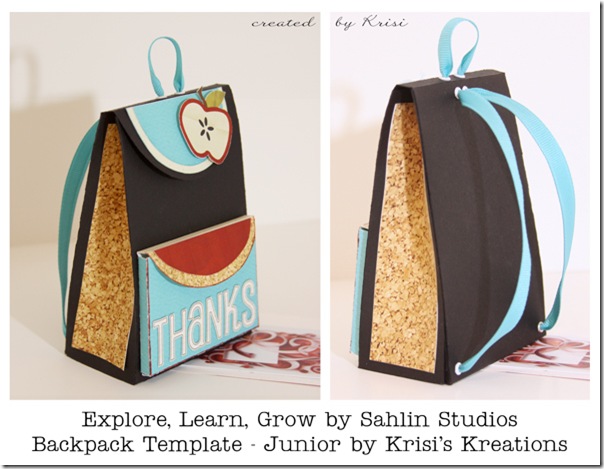
backpack_junior

You can grab the backpack template HERE.

The Explore. Learn. Grow. backpack printable HERE.

To see other items available in my store just go HERE.

Ok... so as that helpful? Do you like seeing each step? Do you need more explanation on some things?

What template do you want to see the tutorial on?

Leave me a comment and let me know!

Sig

Pin It

Monday, August 30, 2010

Want to be a ScrapMatters Girl?

Pin It

.... now is your chance to!

My first gig at ScrapMatters was as a ScrapMatters Girl. I loved it. Commenting in the galleries (which I did anyway) and getting fabulous kits in addition! What a great opportunity!

Hope you decide to apply. Can't wait to see the new girls!

Pin It

Friday, August 27, 2010

Explore.Learn.Grow - Backpack Printable

Pin It

Did you see the backpack template about a month ago?  Guess what you get when merge this kit  Explore.Learn.Grow from Sahlin Studio.


and the backpack template

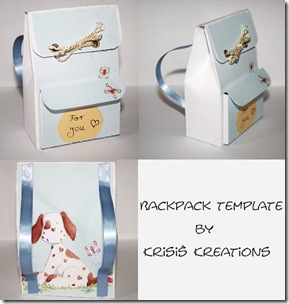
You get this printable backpack... a great way to try hybrid out! Perfect for those that just want to print and assemble.


The example shown is THANKS but I also included one that says For You as well plus I included stars So this can be used all year round!

What a fun printable!  Can't wait to see yours!

Check back soon as I am working on getting the tutorial put together so you can see step by step how to put it all together!

Here is another look at my finished product:

backpack_junior

And here are a couple other new examples using the backpack template:

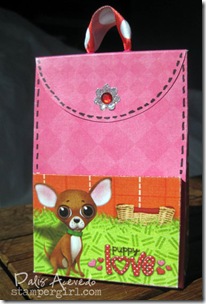
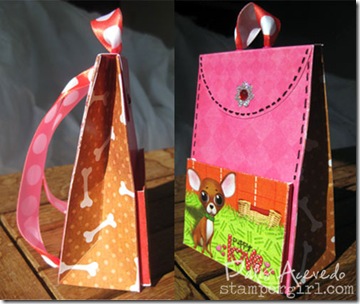
Dalis
backpack_Dalis Backpack_Dalis2

Emma
Backpack_emma

Katrin
backpack_katrin backpack_kaybe

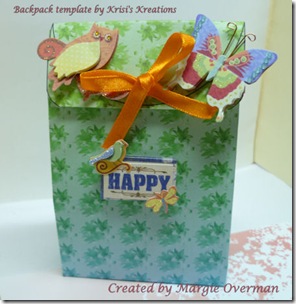
Margie
backpack_margie

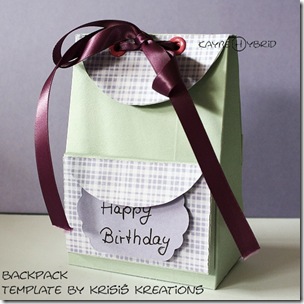
So as you can see the backpack template is very versatile.   Having a ready to print backpack allows you to it together fairly quickly! 

Have a great week!

Sig

Pin It

Thursday, August 26, 2010

Birthday ... anyone?

Pin It

I just love making birthday cards ahead, as I don't want to run out when we need one. LuAnn one of the hybrid team members at ScrapMatters created this fun template/sketch. 

You can grab yours by going to this forum.

And here is what I created with it:

It's My Party from WM[squared] Designs
Template from LuAnn - ScrapMatters It's In the Cards Challenge
Stitching done by my machine
Ribbon - unknown

Also created for these challenges:

http://papercutzchallenge.blogspot.com/ - Anything goes

http://365cards.blogspot.com/ - Imagine This: Sugar

http://www.justscraps.ca/2010/08/challenge-17-open-house/ - A little late but thought I would share my card!

http://cutedaisymay.blogspot.com/ - Blue and green (a second submission)

What a fun set of challenges this week and another card for the collection!

Sig

Pin It

Friday, August 20, 2010

New Release - Line It Up: Templates v. 1

Pin It

Do you like shapes? Do you have a cutter? Do you do digital layouts? Guess what I have something that will make someone who answered yes to ANY of those questions happy!

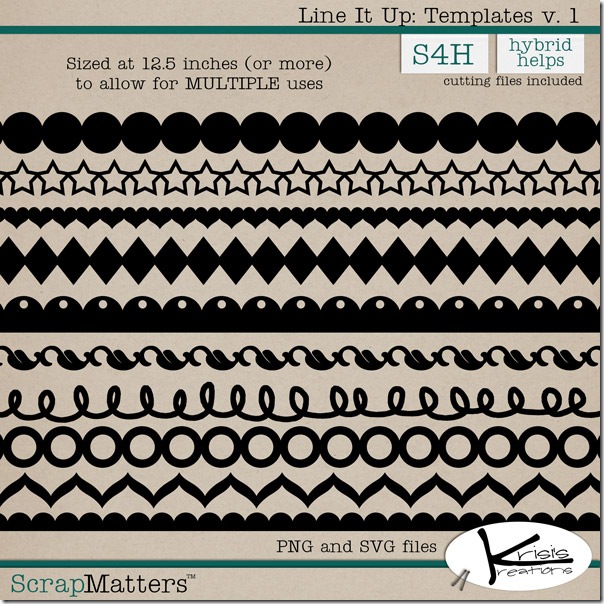
I created some border type templates, but they are not just for borders they are great for layering on you digital layouts or on cards or other hybrid projects as well.  And did I mention they come with SVG files for your electronic cutter as well!

So here is what I have for you...

folder

Want to see some fabulous examples? I have some from my own CT as well as the ScrapMatters team as well.

Kat - using scallops.

Sharon - Using the scallops with the hole punched

Rebecca - Using two different circle types and joining them together to create a larger template to clip papers to!

Emma - using circles (under the cluster) and the doodle and half of the diamond

Sharon - doodle on the preview for the card.  Love how the pen is shown drawing the line!

Jami - uses the scallops down the side

Bonnie - using the scallops under some of the word strips

Another from Kat - uses the stars and wavy zig zag

These are just so exciting and fun to see in use. I got some cut out but have not gotten a card made yet so watch for that in the future!

Don't forget to subscribe to my newsletter if you don't already. Subscribers are receiving a coupon code for a discount on these. Subscribe today (Friday) and  I will send you the same code!

Sig

Pin It

I did some sewing... on a card!

Pin It

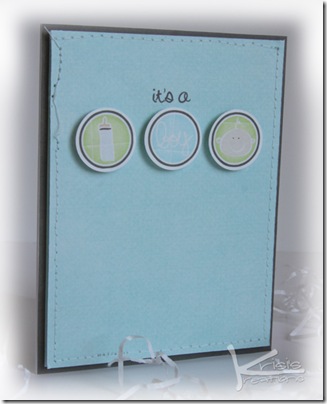
I might not have even mentioned here {blushing} that I have been guesting this month for Laura Banasiak of simply.scraps.  I have had a lot of fun working with her products and this is my most recent thing created - this fun card.

itsaboycard

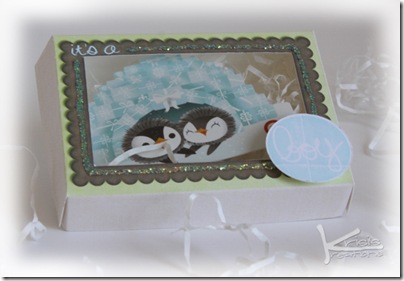
I also created this fun box with perfectly holds a gift card in it!

its-a-boy-gift-box

If you would like either of this items... you can find the templates in my store and the fun alpha and baby stickers are in Laura's store @ Gotta Pixel. I also used the papers from Growing with Love from spinkydink designs.

The card was created for the following challenges:

http://pileitonchallenge.blogspot.com/ - 5 cutout shapes (3 circles and 2 rectangles)
http://cutedaisymay.blogspot.com/ - blue & green
http://totallytilda.blogspot.com/ - stitching
http://madebymomo.blogspot.com/ - babies

The box was created with this challenge in mind:

http://robynsfetishchallengeblog.blogspot.com/ - Anything BUT (a card)

Grrr. I had done this for a bunch more challenges but alas they ended before I got my card posted. This was a good start though!  BTW a huge thank you to my CT member Dalis who has a great blog called Pile It On which REALLY helped me combine challenges for the card!

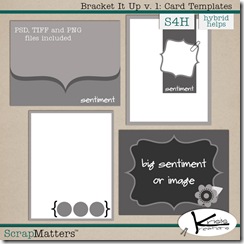
Here is a little preview of the two templates here:

FlipTopBox021210 folder

Pin It

Friday, August 13, 2010

Blog Train

Pin It

You’ve come from Fiona's blog. This train is going to be so much fun!

Have you seen this fabulous kit yet? You probably have and with all these great clusters you will need the whole kit to go with it. You should definately grab it over at ScrapMatters (I linked it up for you so you can just click and buy!)

Carol created this great freebie for you!  That was super sweet of her. I offered to host it for her since she does not have a blog of her own.

 ChelleWMFreebiePackaging

 Grab it here at 4Shared.

Now head to Bethany http://scrappingbytrialanderror.blogspot.com/

If you get lost... just head to this thread over at ScrapMatters.

Thanks for stopping by!  Be sure to check out the other posts below as well!

Pin It

Wanna paint up something fabulous?

Pin It

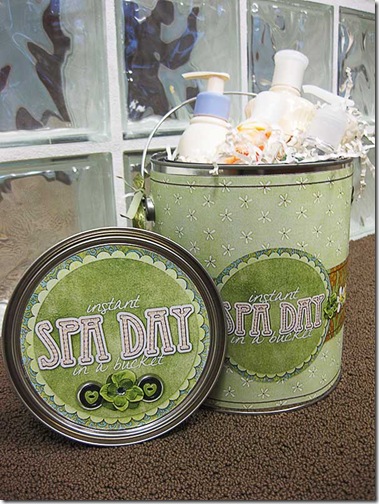
I am so excited about my new release this week. It turned out fabulous and I have already delivered mine to a sister in our ward who is 5 months pregnant and broke her ankle a couple weeks ago.  She totally loved her "Boredom Bucket" as I called mine and I am sure what ever you create someone will LOVE!

Want to see what I put in there?  Here is a picture (I still had some filler in the bottom as well)

Here is some inspiration from my CT:

sharon_bucket

Grab it now! I can't wait to see what things are created with this fun template.

Pin It