Showing posts with label tutorial. Show all posts

Tuesday, November 13, 2012

hi! magnetic greeting card.

Pin It


I actually exist still!  It has been awhile since I have been crafty but I have two projects – the other I will post next.  We have been busy getting adjusted to having two girls in school, me volunteering more and the girls adding extra curricular activities.

hi_card_krisiskreations

https://scraporchard.com/market/These-Walls-Digital-Scrapbook-Kit.html

These Walls from Laura Banasiak
Lamination Film
Magnet
E6000 adhesive
Photo Squares
Font on card - Traveling Typewriter
Font on preview - WM_Kamikazi from WM[squared]

After printing the images I simply cut the hi bubble out and laminated it (since I wanted to have it double as a magnet).  Once laminated I attached it to a magnet with E6000 craft glue.  Then attached it to the card with a photo split so it can be removed once the recipient gets the card.  I usually use foam adhesive to give the dimension but you can see that the magnet achieves this.

Pin It

Monday, April 2, 2012

In the FIX!!

Pin It

For those of you who are out and about in digiland you may already know this but I am featured in The FIX over at DigiScrapAddicts this month!

You can get this template…

plus other kits & templates from other designers for one LOW price.

Plus go to this thread and enter to win $5 to my store – do it QUICK – not sure when the winner will be drawn!

Pin It

Thursday, March 22, 2012

{Thursday Tutorial} Working With Digital Stamps

Pin It

Hello, Cathy (scrappycath) here to share a little tip for working with digital stamps.  Krisi has a great set of Spring related sentiments called Write It: Spring Sentiments Digital Stamps in her shop. You can add dimension to your stamps by adding color.

I'm going to show you one way to add several colors to your digital stamps in Photoshop (or elements). As usual, there's always more than one way to do things in PS/PSE. So if you have a favorite way, by all means go ahead and use it!


First, you'll select the sentiment and open that file in Photoshop.  I'm using the "lucky me I have you" sentiment. Duplicate the layer and turn off the original layer.  Working on the copy layer, use the Polygonal Lasso Tool (circled in red in the image above), to draw around the part of the sentiment that you want to separate so that you can recolor it. When you've completely surrounded the item, you'll get those "marching ants" outlining it on your screen. You can see that I've outlined the "lucky me".  From the menu choose Select > Save Selection and give it a name.  Then press Ctrl+J. This will duplicate the selection onto it's own layer.


Click on the copy layer of the sentiment to make it active, then from the menu choose Select > Load > and choose the name of the selection you just saved. This will reload the original item you encircled. Press delete to remove it. Now you have the "lucky me" and the "I have you" on separate layers.


You can add a layer above each of these and clip papers from the kit you are using to recolor them. Or you can simply fill those layers with colors and clip them.  To clip a layer to the digital stamp layers, place the layer of paper or color above the digital stamp layer, then hover the mouse between the 2 layers, press Alt+click. this will clip the top layer to the one underneath.

I used papers from the digital kit that I was working with Lucky Me by Elise's Pieces, to color coordinate the sentiment with the card I created.

Here is a closer look at the sentiment.

If you want to keep a copy of the altered sentiment, be certain to choose File > Save As and save it as a layered .psd or .tif file. Be certain not to save it over the original digital stamp file.

Have fun coloring your digital stamps!

Cathy

Pin It

Thursday, March 8, 2012

{Tutorial Thursday} Recoloring word art

Pin It

This week I released a couple products…
Write It: Spring Sentiments Digital Stamps by Krisi's Kreations

Daily Life: Daily Border Journalers by Krisi's Kreations
and
Shaped Cards {Spring} by Krisi's Kreations

Yep – three things this week – check back tomorrow to see them in action!

I want to show & tell you how to recolor the word art.

If you want to recolor the entire PNG file here is one way that you can do that (there are multiple methods to do this – but this is the way I do it).

In PSE and Photoshop -

Open the file you want to change – it is a PNG file.

Choose the color you want to change it to (using your color picker).

Go to Edit > Fill Layer. Choose a color (a drop-down menu gives you options for color, foreground color, background color, etc). You must have Preserve Transparency checked to
recolor just the word art not the entire layer.

In Microsoft  WORD
Open the file – Insert > Picture > From File to open the .png file.

With the word art selected go to Format > Picture. From the menu on the left select Picture. Find the drop-down menu called Recolor under Image Control. Select the color you want and click ok.

But… what if you want to recolor the word art in two different colors? You can do it in PSE & Photoshop.

recolor1

You need to get the different parts on different layers so to do that, select the first word you want different. You can use the lasso tool or the box selection tool.

recolor2

Once you have the selection around the word(s) you want follow the directions above -

Go to Edit > Fill Layer. Choose a color (a drop-down menu gives you options for color, foreground color, background color, etc). You must have Preserve Transparency checked to
recolor just the word art not the entire layer.

recolor3

Here is a beautiful example from Cathy that shows the word art in two different colors.

FriendsFlowersWEB

Try it and and show us what you create – this works for both hybrid projects and layouts. Link us up and show us what you created!

See you tomorrow!

Pin It

Thursday, February 16, 2012

{Tutorial Thursday} Jr. Legal Pad

Pin It

It's Thursday and time for another tutorial!  It's Cathy here posting (Scrappycath) and I'm going to be showing you a project using the Jr. Legal Pad Cover released this week at Krisi's shop.

I'm also going to share a bonus tutorial on how to use templates with the Silhouette electronic cutter, even though there may be no cutting files!!


I used the digital kit Boy in Blue Jeans by Jady Day Studio. You don't have to use digital papers with Krisi's templates. She includes .pdf versions which you can trace onto "real" paper to create wonderful projects too. Lots of possibilities!

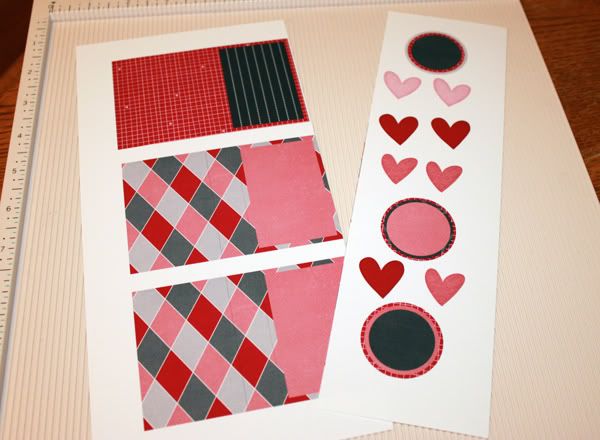
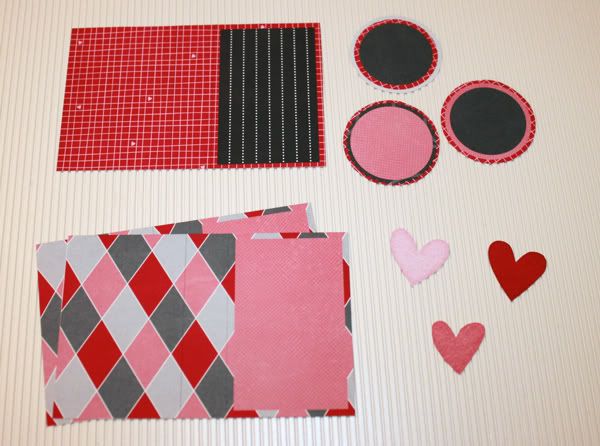
I wanted the papers that I used to be "double-sided" with patterned papers on both sides. So first I chose a digital paper from the kit to be the inside of my pad cover. I chose the large circle paper.  I then printed that on to one side of  two letter sized (8.5'x11") sheets of paper.  I have an inkjet printer and I used a paper by Red River called Polar White. It's a bit heavier than presentation paper, but displays the colors well, like presentation papers.

I then opened the .tif templates in Photoshop CS4 (the templates come in multiple file formats to work with all sorts of photo editing programs or just print the .pdf version to trace onto paper!). I clipped the digi papers that I selected to the appropriate areas of the templates: front, back, pad cover, and pocket.  I chose to use the scallop edge flap (turn off the template sections that you do not need). Also be certain to delete or turn off any instructional text layers, and reduce the opacity of the score lines.

Keep in mind that the right most edge of the front will be covered by the flap when it is closed.  If you want to see your embellishments when the flap is closed, keep them about 1.5" from the right edge of the front section.

At this point, you can print out the designed templates, cut them and move on to the scoring and assembling.  BUT, if you have a Silhouette electronic cutter, I've got a big tip for you.

Creating Print-and-Cuts for the Silhouette:
Here is what I do when I want to print-and-cut something on my Silhouette. In Photoshop, I merge all of the layers to create one layer for the item that can be printed and cut. Above is the image of my front design. I save this as a .jpg file and named it FrontPRINT.jpg.

I then add a layer above the design one in Photoshop. I fill that layer with black and clip it to my design layer.
This creates a black image of what I want to cut in the Silhouette software. I save this as a.jpg and named it FrontCUT.jpg. (Note: I have the Silhouette SD, not the Cameo, it has a smaller cutting area. I had to create separate files for the front and the pad cover)

Now open the Silhouette software. Open the PRINT file that you created, and then open the CUT file and line it up on top of the PRINT file. Hint: use the "centralize" tool to line them up exactly.  Turn on the registration marks, and be certain that your design is lined up inside them.

Select the Trace tool. Click and drag to select the design. When you have the design highlighted click "trace outer edge" (for this design we only need cut the outline, for more intricate designs, you'll want to select "trace" to trace outside and inside edges). Once you have the cut lines traced, you can drag the black "cut" file off the work space.  The project in your Silhouette software will look like the image above.

Now, using the Silhouette software, send it to the Silhouette, select to print it. I printed mine on the opposite side of the paper I had already printed on.
Once it has printed, with the registration marks, place it on your Silhouette mat and insert it into the Silhouette. On the software, select to continue and detect the registration marks automatically. Then cut your page!

Scoring and Assembling:
Once you have your design printed and cut, you are ready to score and assemble it.

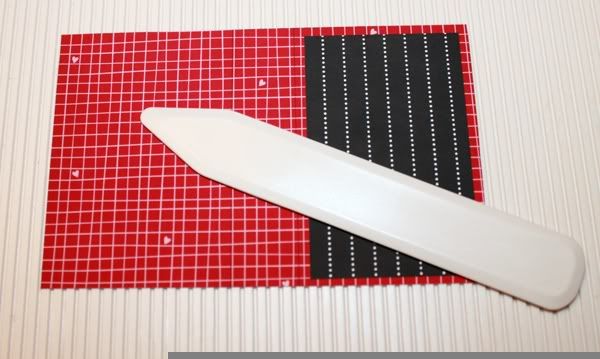
Using a scoring board is really helpful to get a straight line. If you don't have a score board, I suggest placing your paper on top pf a magazine or on the back of a firm mouse pad or other thin foam mat. Then place a straight edge ruler along the score line, and use the back of a butter knife (not the cutting edge) to score the paper.


Add adhesive to the appropriate flaps and construct your pad cover.
This is how the project will look once the front and back are adhered.  Wrap the pad cover over the top of a junior size legal pad and adhere in place.  Place some adhesive on the back of the pad and adhere it to the inside back of the cover.

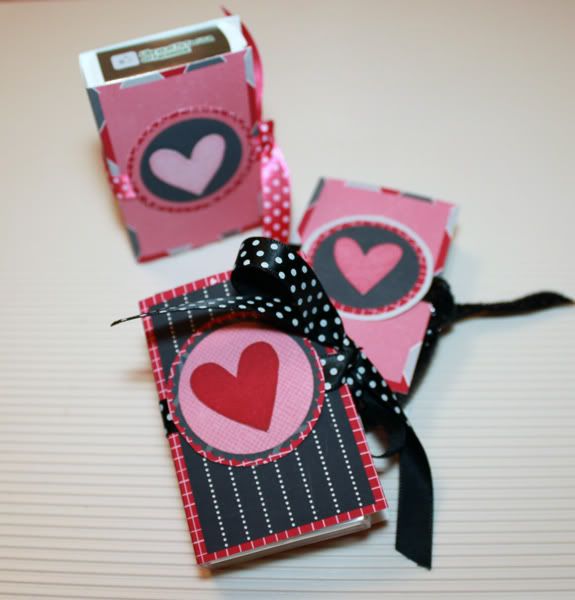
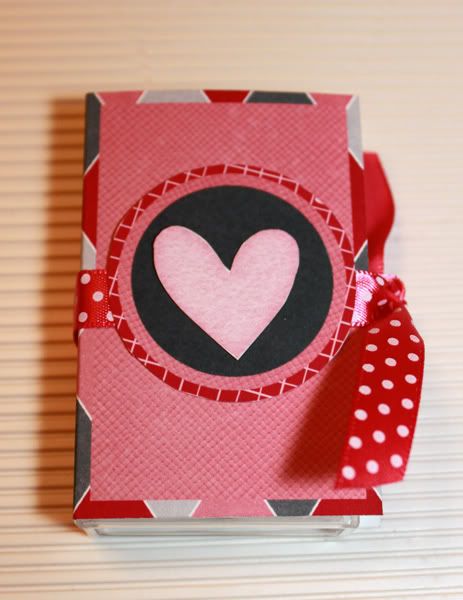
 Here are some images of the completed project.


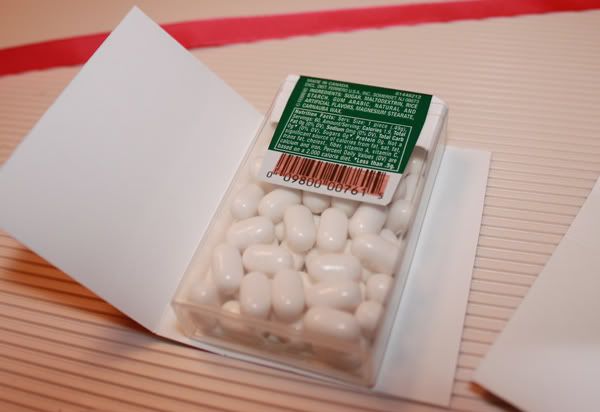
I always keep a note pad at my desk to write down important things that I need to remember, to-do items, things my son says that I just don't want to forget. Now instead of a loose pad and pencil, I have a pretty packaged pad to help me keep my notes!

I hope you have fun creating a pretty covered pad too. By the way.....These would make great teacher gifts!!

Cathy (scrappycath)

Pin It

Thursday, February 9, 2012

{Thursday Tutorial} Candy Cover

Pin It


Hey everyone -- Heather (isaacsmom) here. Today I have a tutorial using Krisi's Candy Covers Volume 1. - which is new this week. I absolutely love this little project -- it is perfect for a last minute gift for Valentine's Day!

I used Krisi's Candy Covers Volume 1 -- you can find it here.


and the kit I used is Techno Love by Chelle's Creations:


I first opened the Candy Cover template in PSE 9 and clipped the papers I chose to the template. Then I printed them on my printer. I chose to use Epson Premium Matte Presentation Paper.


I also went ahead and gathered the supplies I need for this project: tic tacs, cutterbee scissors, red tape, scoring tool (not pictured) and miscellaneous ribbon.


Next, I cut out all of the items. You will notice that I also printed a few hearts from the Techno Love kit to use as an embellishment on the front of my candy cover.

Next I used my score tool to score the lines on the cutouts.


Then I added a small strip of red line tape to the back of the tic tac box to adhere it to the candy cover.


Then I used some ribbon to tie up these cute candy covers. For the bow, I used a piece of ribbon about 18" long. For the simple knot, I used a piece of ribbon about 10" long. Lastly, I used some red line tape to adhere the circles and hearts to the front. At this point, you could use anything you wanted to embelish the front -- a button, word art, etc -- the possibilities are endless!


So simple! And now I have the perfect gifts for my son to give his teachers at school for Valentines Day!

I hope you have fun creating your own projects! Please link me up in the comments section if you try out this product! I'd love to see your finished creation!
Heather (isaacsmom)

Pin It

Thursday, January 26, 2012

{Tutorial Thursday} Pillow Door Hanger and Accordion Flowers!

Pin It

Hello, there! LeAnn, here.
Today is a tutorial on using a couple of Krisi's products together:

Accordion Flowers:


and the Pillow Door Hanger:


For this project I used the "She's All That" kit from Jady Day Studio.
Her designs can also be found at Scrap Orchard.


After I clipped the papers to Krisi's template and printed, here's what I had gathered:


Next, I scored the fold lines with my bone scoring tool. Then, I cut out the pieces and folded along the score lines. I accordion folded the strips for the flowers and glued the strips together for the larger flowers. For a detailed tutorial on assembling the accordion flowers see this post HERE.


Then I glued the piece called the "back" to the inside of the hanger.


Next I folded the pillow over and glued the flap closed, as well as folding up the bottom and gluing that. The hanger part is now done!

Next up, finishing the flowers. First I glued the ends of the accordion strips together to form a circle. After they dry, I like to cut circles out of scrap paper and use hot glue to hold the flattened-out flowers together. No one will see the backside, anyway, right? :)


After gluing some buttons in the center front of the flowers and paper strips to the back, I arranged them in the pocket of the door hanger. Its a pocket full of posies!

You could get creative with what you use for the center.
How about candies? (You might even find a way to have them remain edible!) You could also attach pipe-cleaners to make stems, or even rolled paper. Get creative!

My favorite configuration, however, was when I used one of the smallest flowers as the center of the flower on the pocket, and filled the pocket with kisses! Yum! :)
Lots of ways to create, and you don't even have to end with what you started out to create! :)


Hope you enjoy working with these products!
LeAnn

Pin It

Monday, January 23, 2012

{Monday Mix} Hybrid Home

Pin It

Hi, everyone! It's Rebecca (reboscraps) here with a quick and easy tutorial for you. When I saw the Plan It: Menus in Krisi's shop, I knew it was the perfect thing to cute up the fridge. I've often made lists of what's for dinner, but always on scraps of paper here and there. I used her Menus template and cute digi scrap supplies to make a permanent fridge list that I can reuse again and again.

I started with these two products from the Scrap Orchard Market, first of course is, Krisi's Plan It: Menus


and I added papers from the Family Reunion Collab by Jady Day Studio and Suzy Q Scraps


I liked the vertical template best, so I designed my project, and printed it out:


I'm going to show you how I laminated mine, but if you don't have a laminator you could simply slide this into a standard letter-size page protector and trim the side with the holes. This would be a super quick and easy way to make your menu reusable, and it would look something like this:


You might notice that because of the printer margins, I ended up with some white borders on my printout. I decided I would trim those off:


Another option would be to layer your scrapped print with a solid sheet of paper if you prefer a bordered look, like this:


The layered look would probably work great if you use a page protector, but I wasn't sure the thickness of the paper would work in my laminator, as I haven't done a lot of experimenting with it yet. I decided to skip the extra sheet of paper, and I actually like that my project will have a little extra lamination around the edges, I think it will give it some added durability. Here's my project ready go through the laminator:


A quick trip through the laminator:


After it was stuck together, I added some peel and stick magnets to the back, and the project was ready to look cute on the fridge!


Now, I just have to plan some menus!

Linked up to:

Pin It