
Hey everyone -- Heather (isaacsmom) here. Today I have a tutorial using Krisi's Candy Covers Volume 1. - which is new this week. I absolutely love this little project -- it is perfect for a last minute gift for Valentine's Day!
I used Krisi's Candy Covers Volume 1 -- you can find it here.

and the kit I used is Techno Love by Chelle's Creations:

I first opened the Candy Cover template in PSE 9 and clipped the papers I chose to the template. Then I printed them on my printer. I chose to use Epson Premium Matte Presentation Paper.
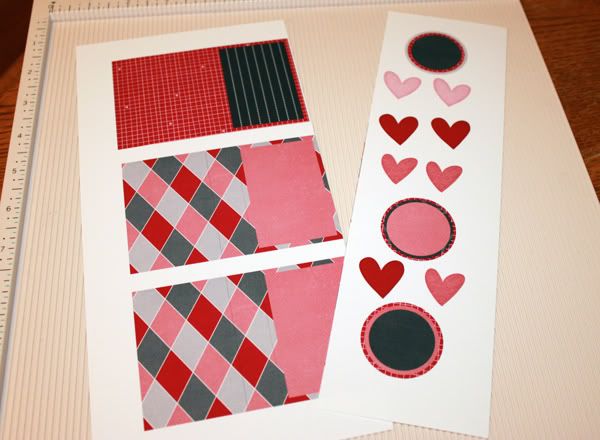
I also went ahead and gathered the supplies I need for this project: tic tacs, cutterbee scissors, red tape, scoring tool (not pictured) and miscellaneous ribbon.
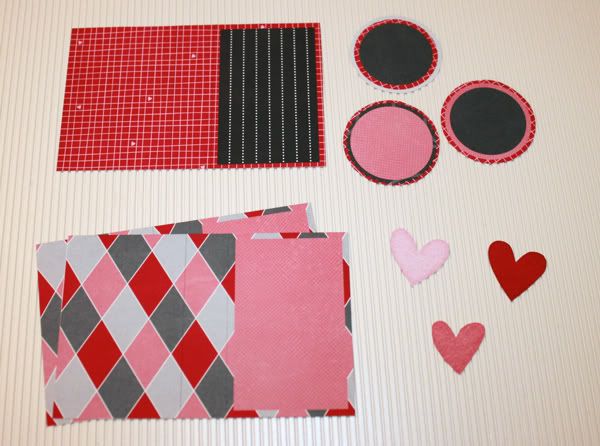
Next, I cut out all of the items. You will notice that I also printed a few hearts from the Techno Love kit to use as an embellishment on the front of my candy cover.
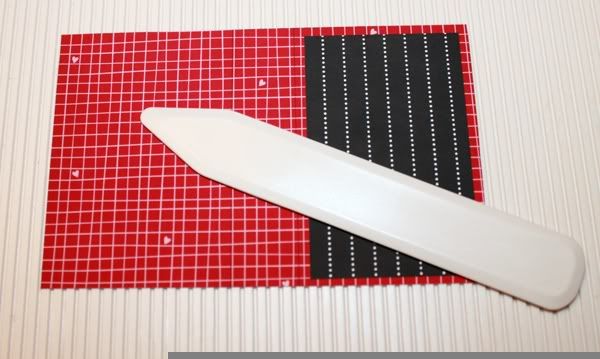
Next I used my score tool to score the lines on the cutouts.
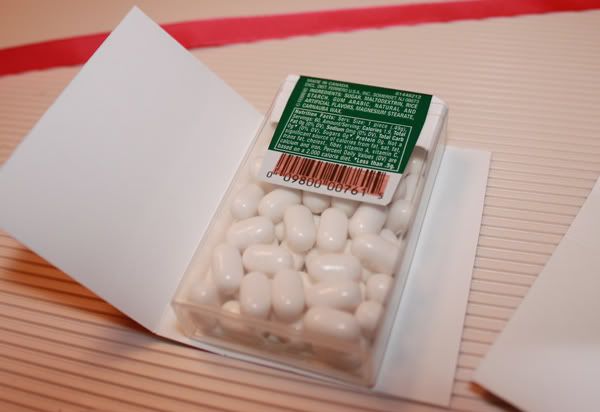
Then I added a small strip of red line tape to the back of the tic tac box to adhere it to the candy cover.
Then I used some ribbon to tie up these cute candy covers. For the bow, I used a piece of ribbon about 18" long. For the simple knot, I used a piece of ribbon about 10" long. Lastly, I used some red line tape to adhere the circles and hearts to the front. At this point, you could use anything you wanted to embelish the front -- a button, word art, etc -- the possibilities are endless!
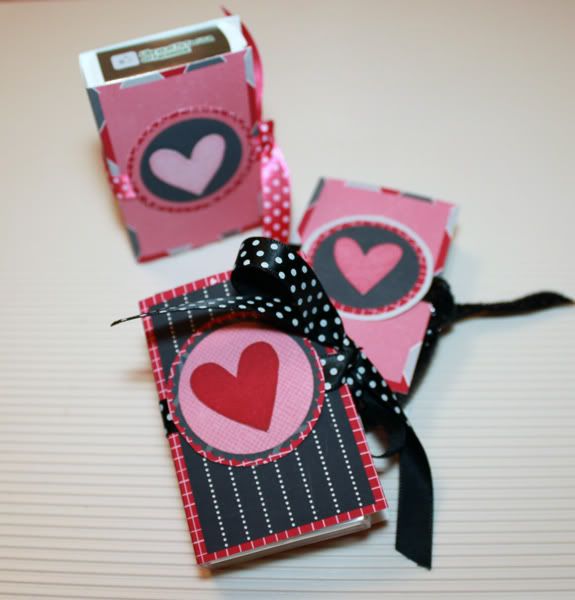
So simple! And now I have the perfect gifts for my son to give his teachers at school for Valentines Day!
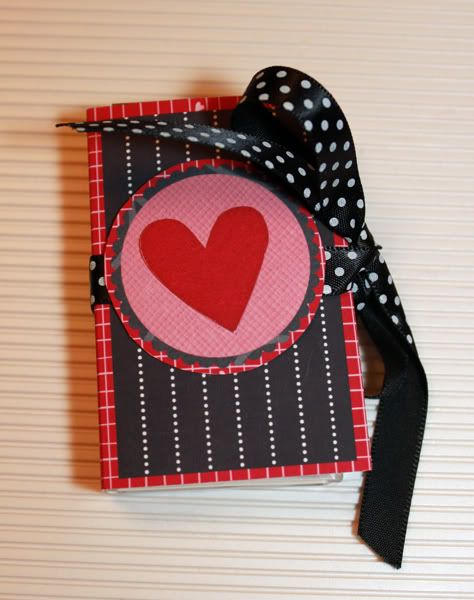
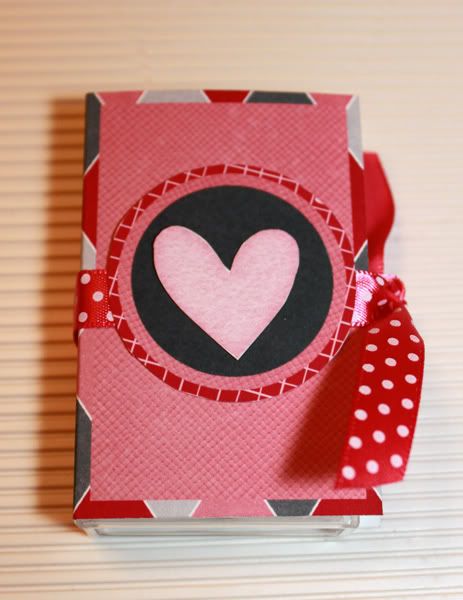
I hope you have fun creating your own projects! Please link me up in the comments section if you try out this product! I'd love to see your finished creation!
Heather (isaacsmom)


